A side note: This is how I blog lately. Lap child. Thank goodness he's cute...

If you must know, I'm a bit obsessed with making my own wreaths. It's a little ridiculous, but it makes me so happy! AND making them from scratch is So. Much. Cheaper. Really. Like much cheaper than any you'll find in Walmart or Target. Without further ado, I present to you my first....

Note: This wreath was inspired by an article in HGTV Magazine. I'm not sponsored, just love the wreath, and the magazine!
Springy, right?! Let's get started.
Supplies:
* Foam wreath
* 1 1/2" ribbon. I used this. For my 14 inch wreath, I used exactly 6 yards.
* Variety of felt colors, 4-5 squares or about 1/2 yard
* Some push pins or floral U pins
* Hot glue
* About an hour, maybe two, depending on how many felt flowers you do, and how many children you have running around you while trying to complete it (see photo above).
Start by wrapping the ribbon around your wreath. I used floral U pins to secure.

I folded the ribbon edge over before pushing the pin all the way through so it has a nice finish.

I left a bigger loop for the very end of the ribbon, which I will later use to thread twine through as the means for hanging.
 |
| Voila! |
My first flower is similar to a rose. Start off by cutting a largish circle (the above is about 5/6 inches), then cut a spiral until you reach the middle.

Begin by rolling the smaller end of of the circle on its self. Here's where a little hot glue comes in handy to keep it in place, but I would practice a few times before you glue it. When it's small, it can be tricky!

Look how cute they are!

A variation of this is to make your lines wavy as you cut. Go through the same process, starting with rolling from the end into the center.

 |
| I glue on the bottom as I go. |

Here's another fun flower... Simply cut a two-inch strip, fold it in half long ways, hot glue at just the edge leaving a space in the middle, then snip about 2/3 of the way through all the way down every 1/4 of an inch or so.


Once you've finished, began rolling the strip on itself from one end.

The nice part about this particular flower is you can add another strip, or part of a strip, to make the flower bigger. You really can't tell if there's a seam. Win!

You can either leave the loops as is...

Or snip the loops for a different kind of texture. I used both for this wreath.

One more! I had actually not planned on an additional design, but the wreath needed something more... For the final flower, you need 4-5 (or more) of the same sized felt circles. Mine were about 2 1/2 inches, and made a ~3 inch flower. I used a different color for the center of the flower.

For the center, fold your desired color in half, then roll it up, somewhat loosely. Secure with hot glue.

Continue by folding each subsequent circle in half, then in half again.
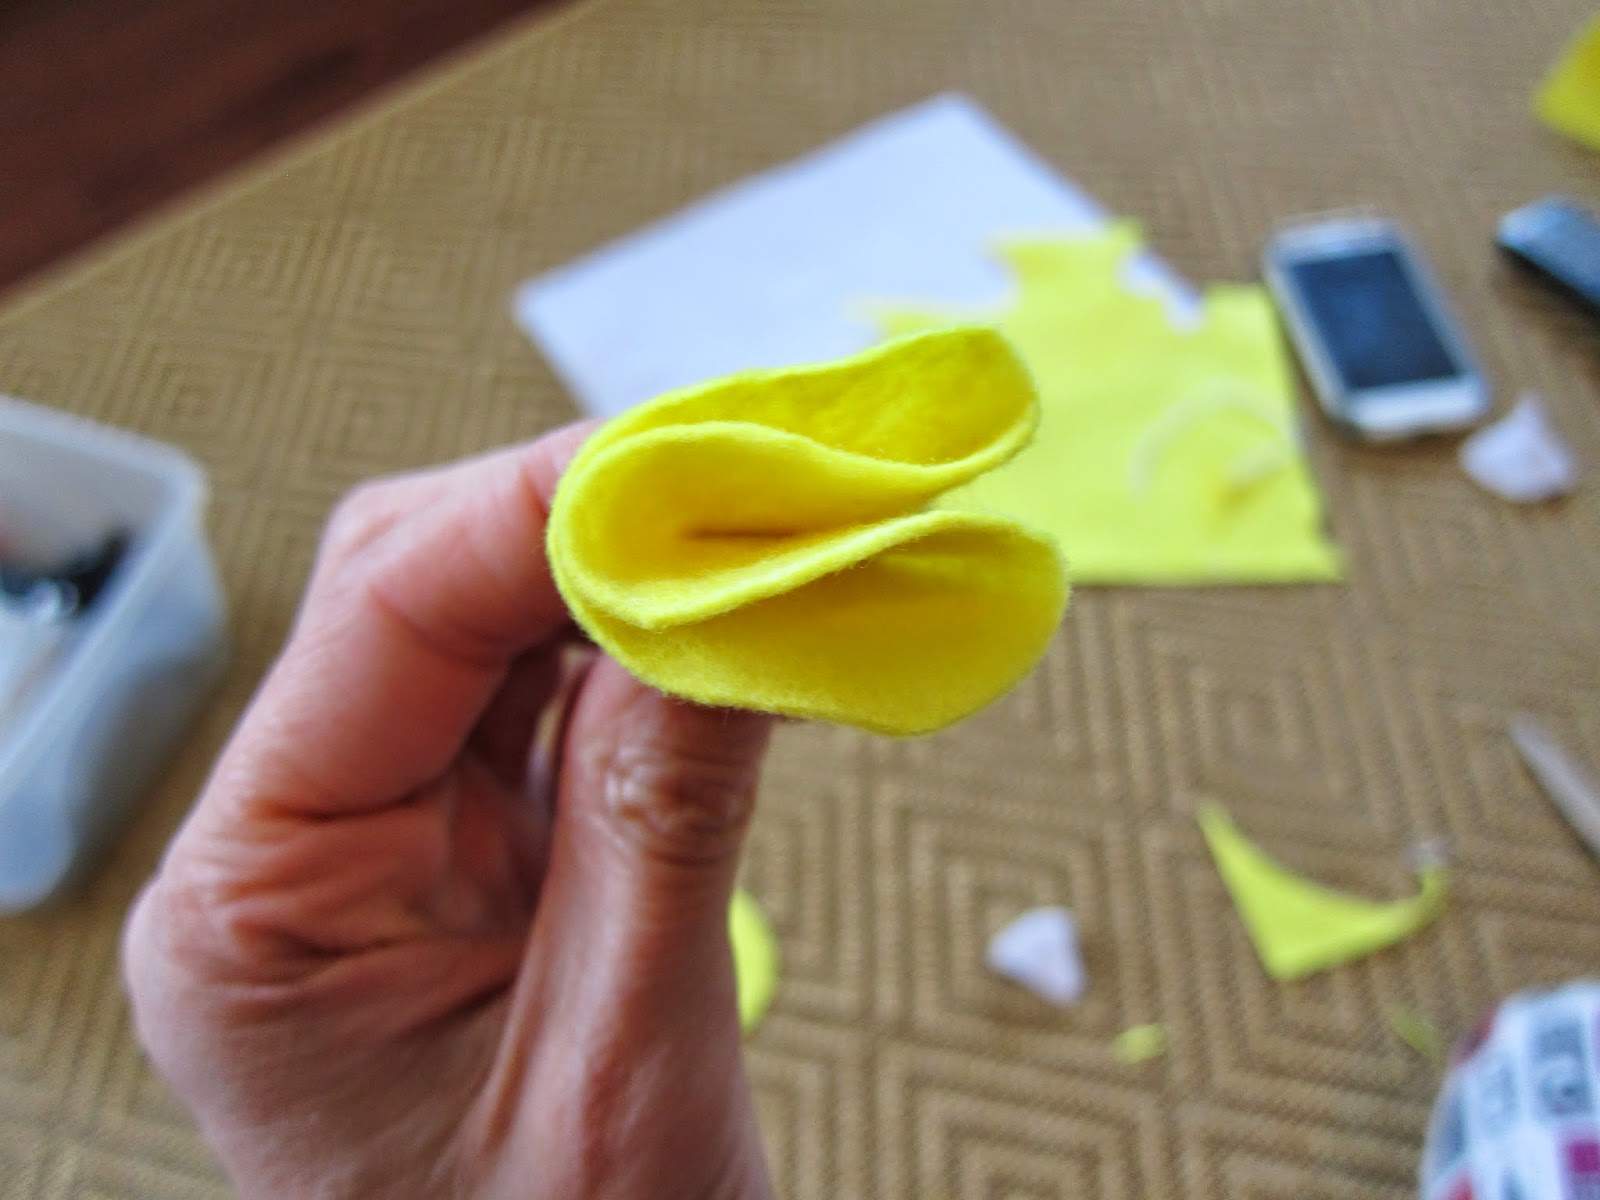
Glue each twice-folded circle around the center. It takes a little playing with, so practice before you glue!
 |
| Ta da! |
 |
| So pretty :) |


I used hot glue to attach my flowers. For the inspiration wreath, they suggested using colored push pins to match the design. What a great idea! I didn't have any on hand, and I wasn't going to make an extra trip out, so hot glue it was.
After I finished gluing the flowers on, I needled some twine through the ribbon loop I had left at the top of the wreath.

Annnnnnnnnnnnd.... Here it is! I may end up adding a bow at some point. Sometimes I live with my wreaths for a little while, then end up adding to it.

What do you think? So springy, right? Seriously, it makes me smile every time I drive up to the house.
Until next time!
Mrs. Kuda
Linking up this week with Serenity Now. Enjoy!


You are so crafty, and you totally inspired me to make my burlap wreath! And I heart that magazine also!
ReplyDeleteStacy, your burlap wreath is awesome!!
ReplyDelete